Product Overview
Smart Contract Develoyment
Smart contract code is located inside “Smart Contracts” directory.
Create a new file inside “contracts” directory called MultiSend.sol
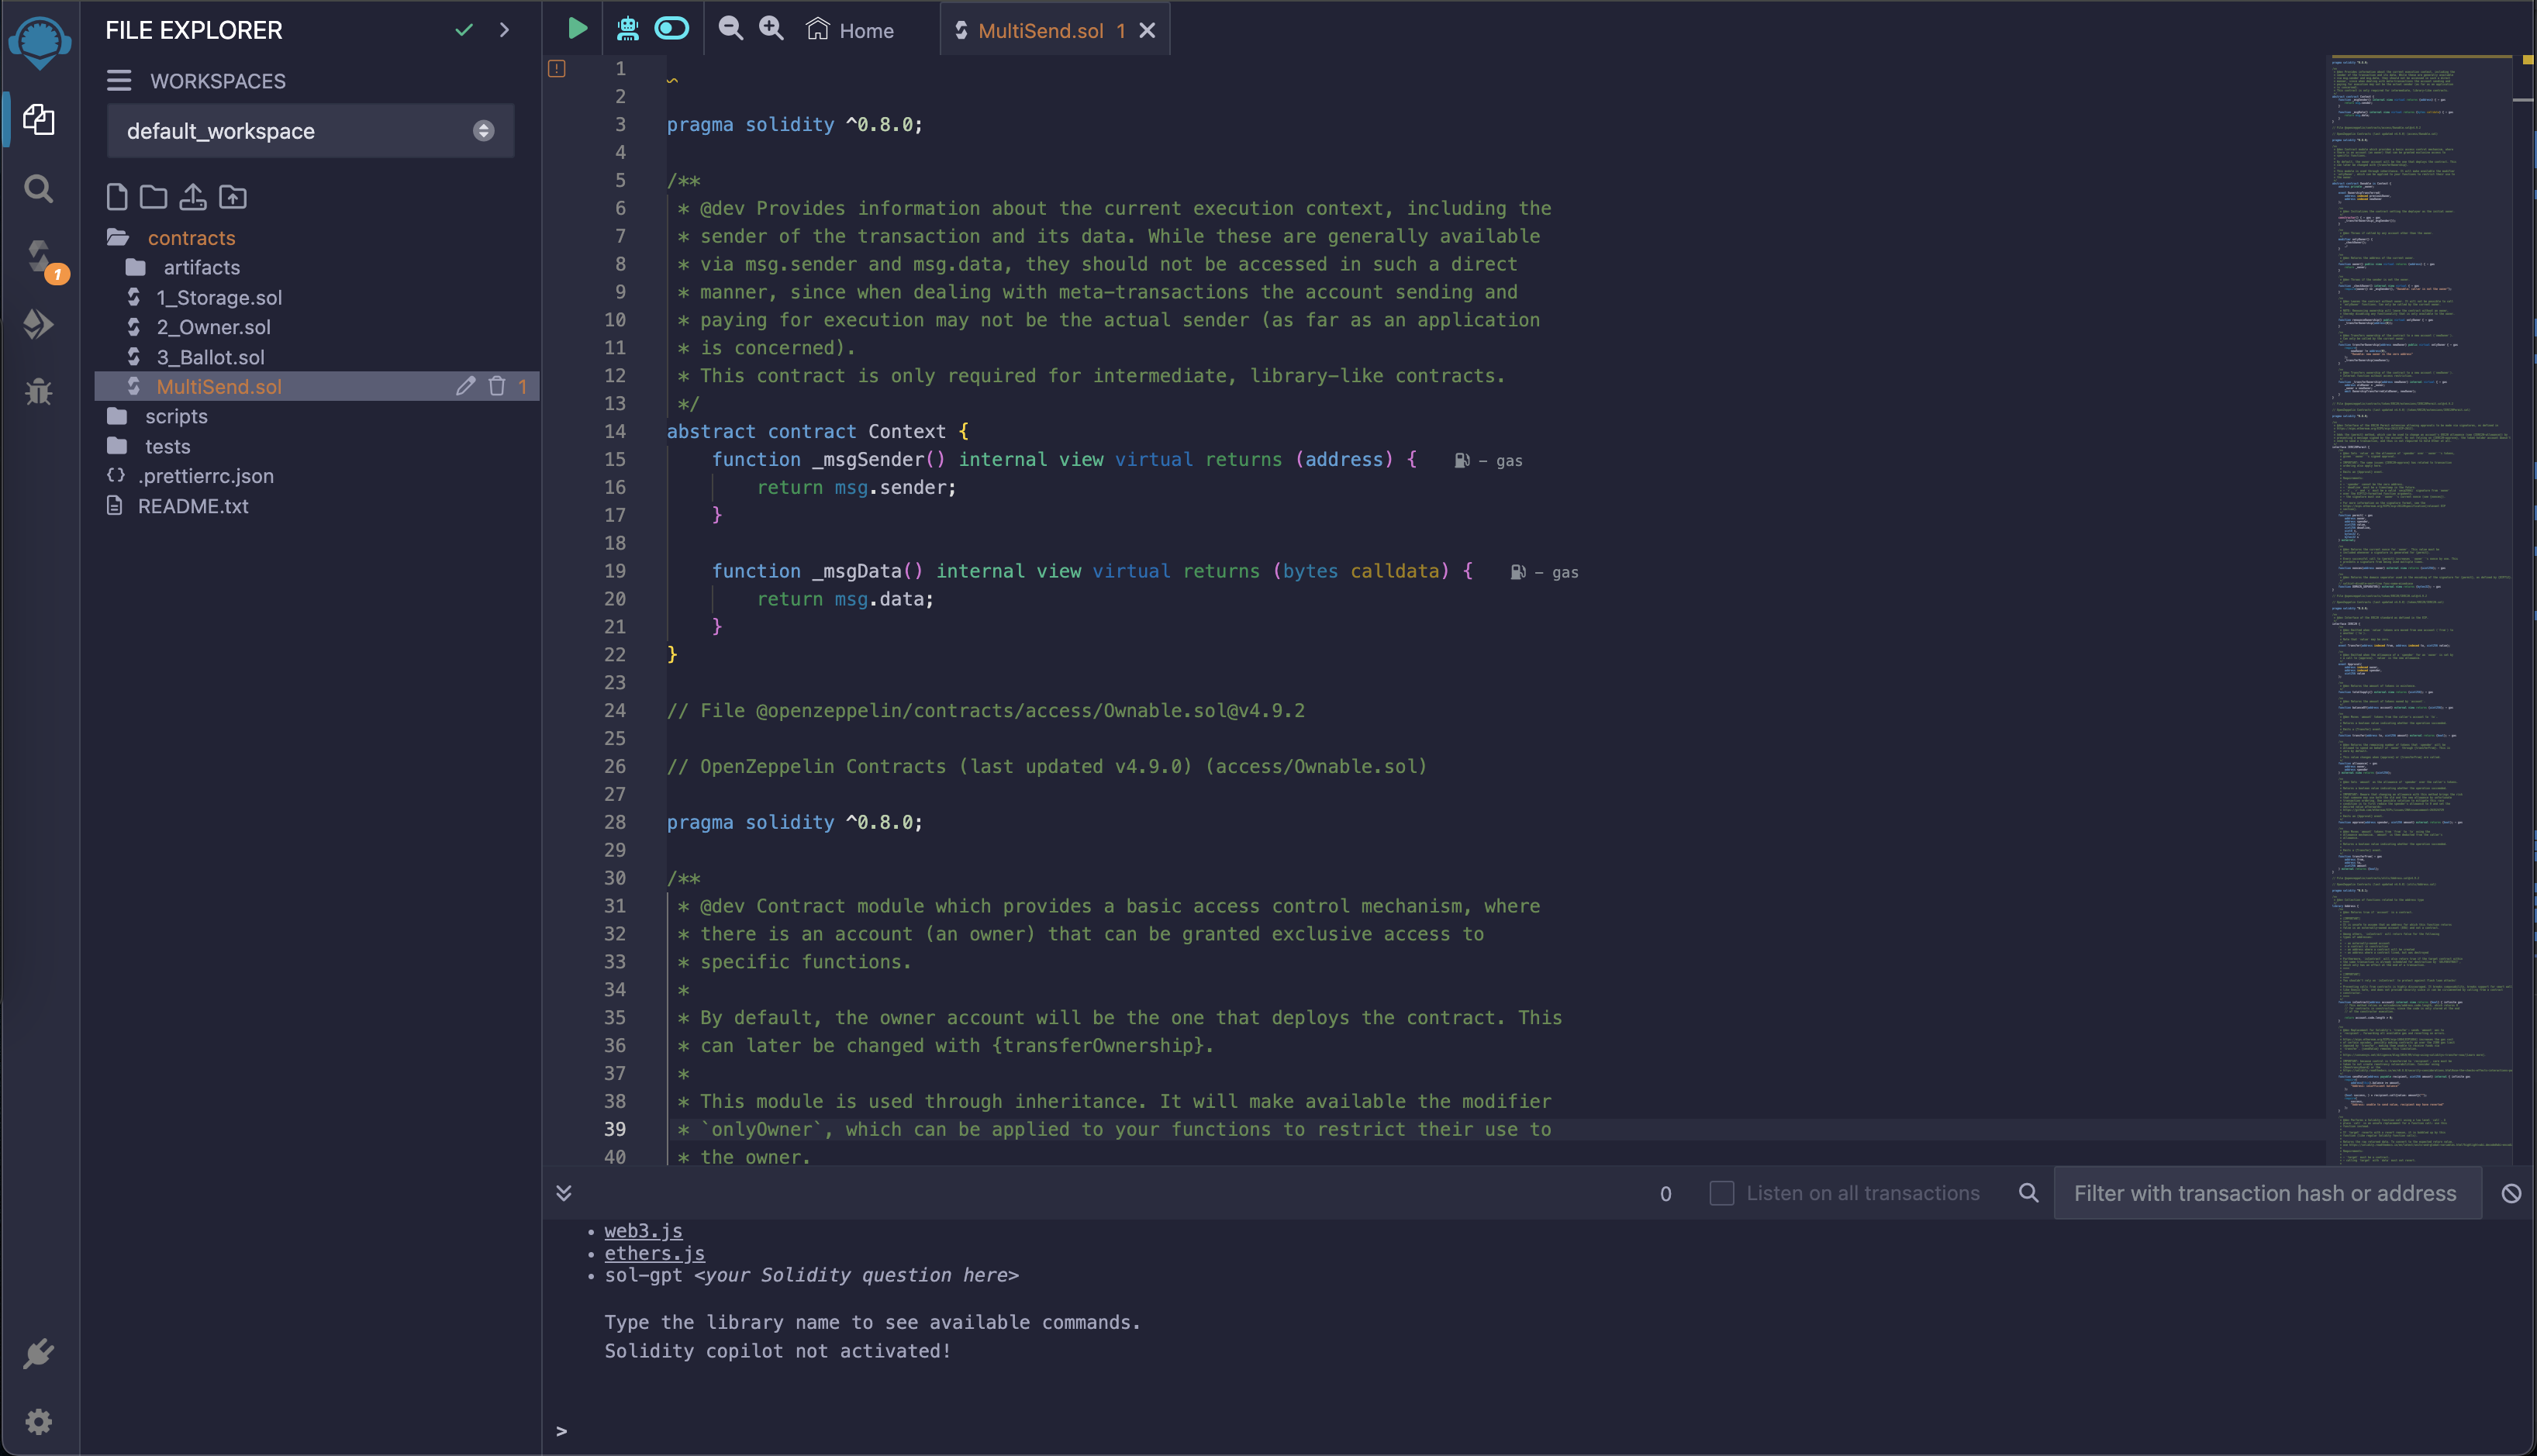
Paste the .sol code from Smart Contracts directory.
Compile (Version 0.8.22 (latest))
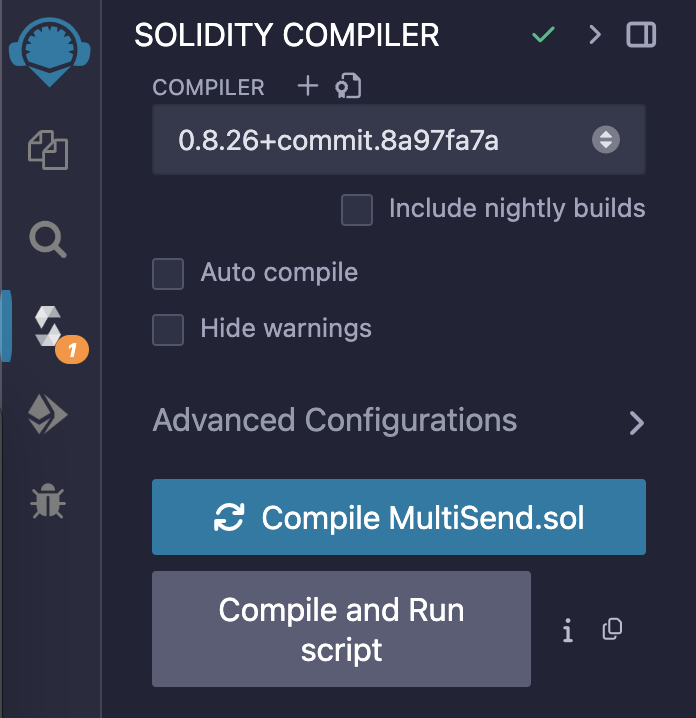
Deploy the smart contract
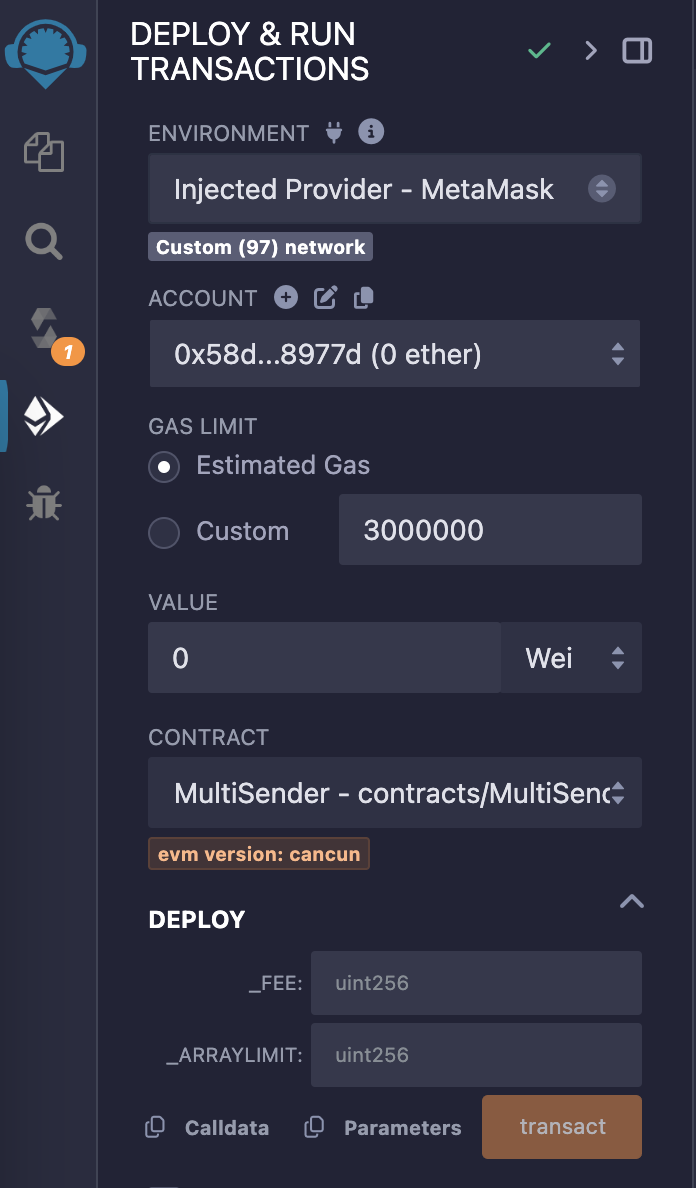
Important: Make sure you select MultiSender contract on the dropdown before deploying
_FEE = Service fee rate in BNB (Formula price / BNB price * 10^18)
_ARRAYLIMIT = 500
Then click “transact”
Sample transaction: https://testnet.bscscan.com/tx/0x1ce426a2c17447699b267b81cea04208a5df94d3659d2db4 700487565d66f567
Sample testnet contract (deployed): https://testnet.bscscan.com/address/0x45bF7657bF8A7673190333AA2F36C9BcC9610C68
Smart Contract Verification on BSC
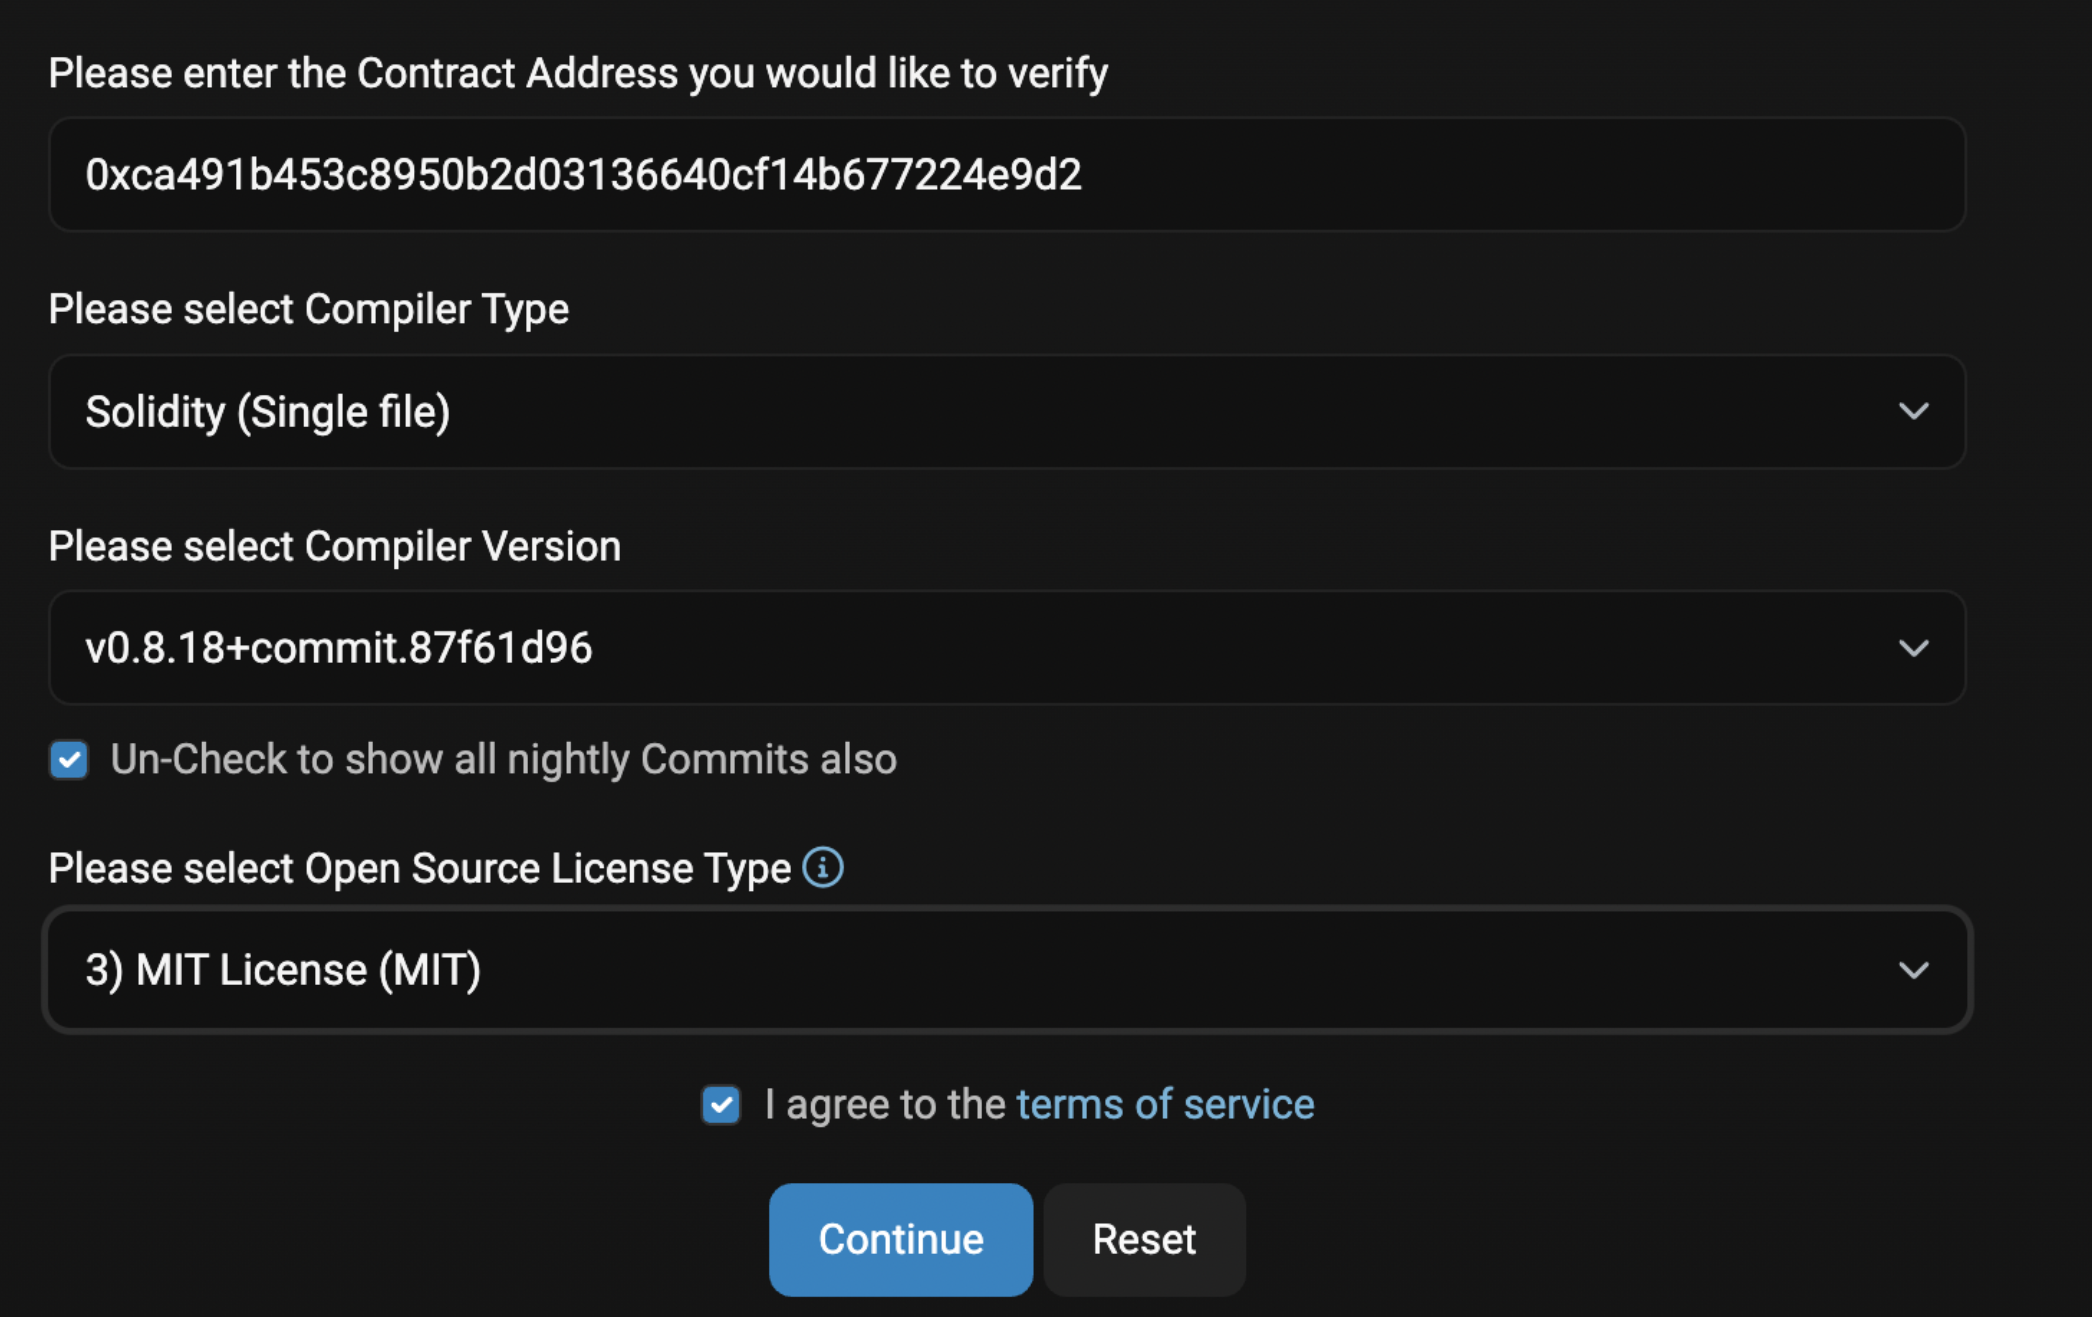
Open https://testnet.bscscan.com/add... (Make sure that you replace contract address with your deployed contract address)
Click “Verify and Publish"
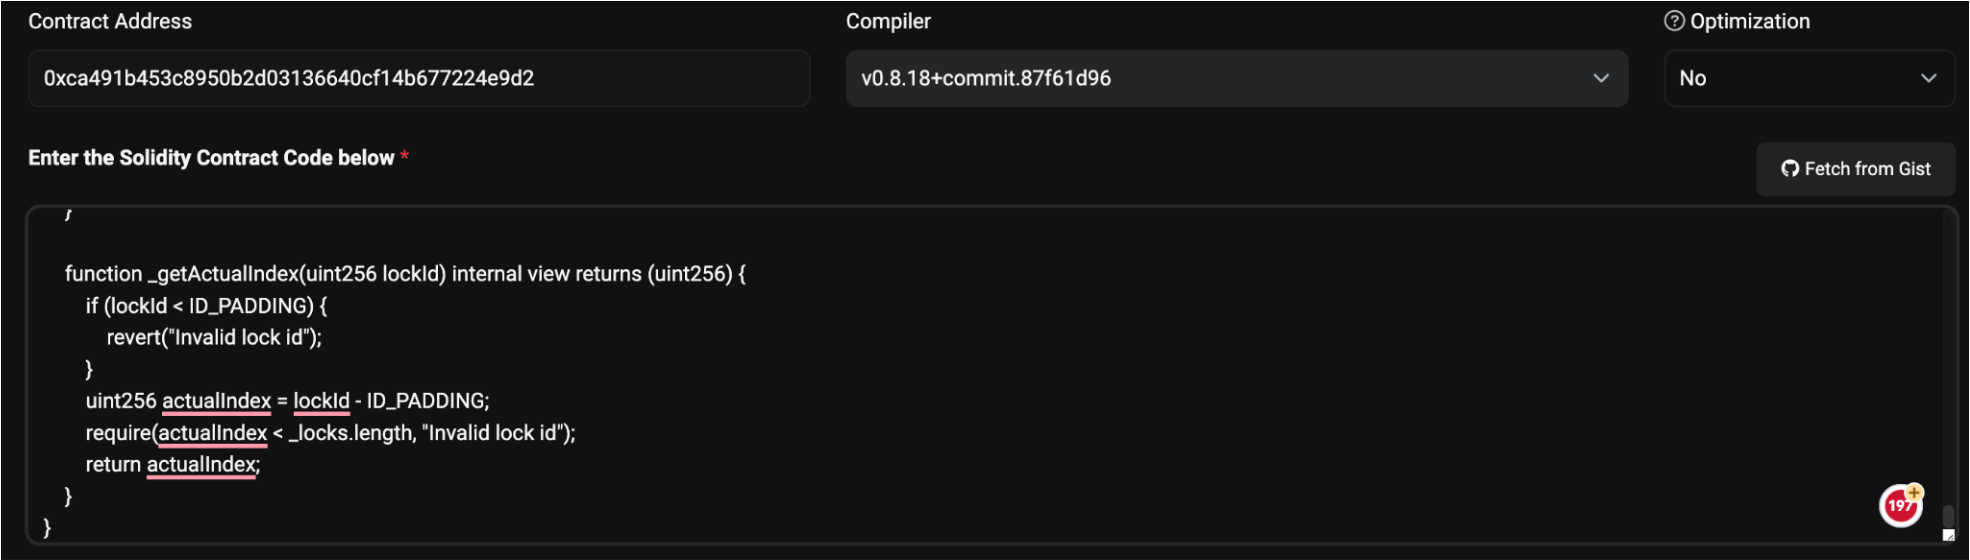
In Enter the Solidity Contract Code below * input paste the contract code from remix that you just deployed like on the image below:
Click “Verify”
You should see something like this after a successful verification.

Frontend Configuration
Open Frontend folder on your code editor (for instance VS Code).
Navigate to /src/config/index.ts file:
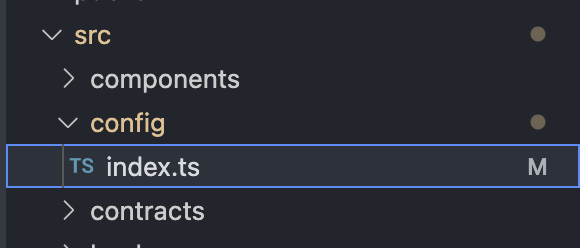
Update smart contract address to your deployed contract address on line 23

Then update walletConnectProjectId to your project id, you can obtain a free key on walletconnect.com.

All the content of the site is located inside src/components folder, you can navigate through those files to make any required changes.
Run dApp Locally with Node JS
Install node js https://nodejs.org/en/download
Install yarn https://classic.yarnpkg.com/lan...
Open Frontend folder on VS code or navigate to this folder via the Terminal
Execute those commands:
4.1. yarn install
4.2. yarn dev
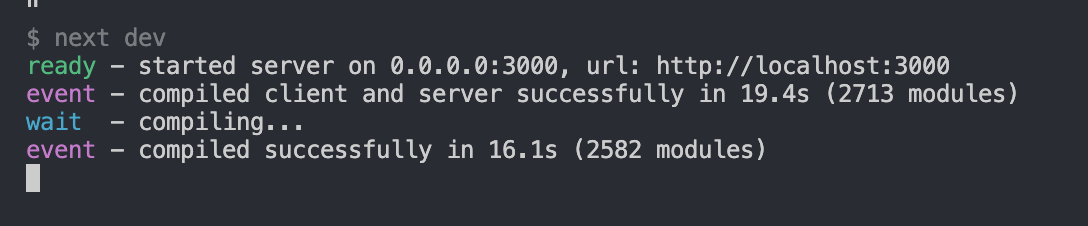
You will see similar output to this, you can click the link and view your dApp locally to make any changes before go-live.
Deploy
Install node js https://nodejs.org/en/download
Install yarn https://classic.yarnpkg.com/lan...
Open Frontend folder on VS code or navigate to this folder via the Terminal
Execute those commands:
4.1. yarn install
4.2. yarn build
yarn build command generated a folder called “dist” inside frontend directory.
Upload only files that are inside “dist” folder on your domain or subdomain
If you have any questions feel free to contact our Support Team on Telegram: @web3codez